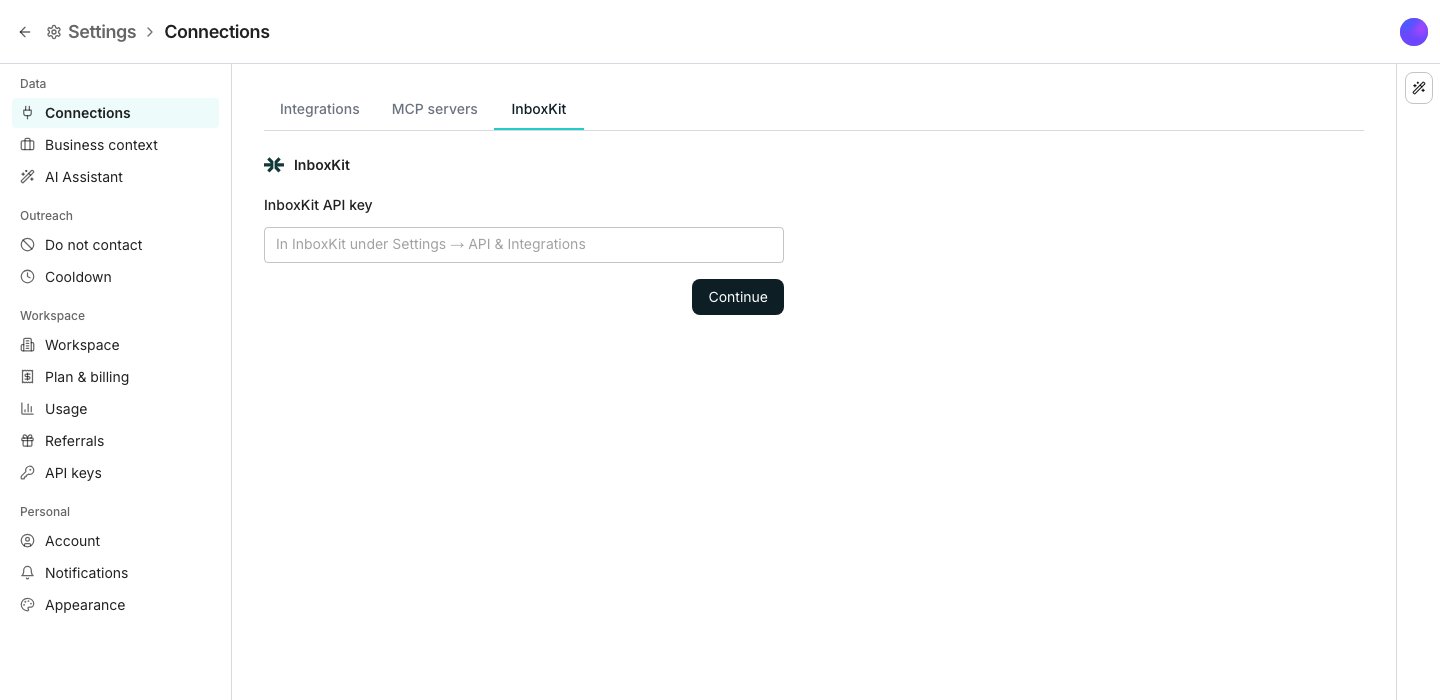
The InboxKit tab under Connections, before a key is connected.
Import mailboxes from InboxKit
1
Open the import dialog
On the Mailboxes tab, click Import from InboxKit.
2
Connect InboxKit
First time only: paste your InboxKit API key and click Continue. Confirm the workspace the key belongs to, then click Connect.
3
Pick from your inventory
Search or scroll InboxKit’s live inventory and tick the mailboxes you want. A domain still authorizing finishes on its own and imports its mailboxes once ready.
4
Set a limit and import
Leave Daily send limit blank to use the default, then click Import. The button counts your selection before you click it.
Manage the connection
The InboxKit tab under Connections holds everything about the standing connection, reached from Manage in Settings in the import dialog. Two automation toggles, Add new mailboxes automatically and Disconnect removed mailboxes automatically, sit above a Domains table tracking each one’s authorization. An Import history lists every past run. Change API key replaces the stored key without disturbing mailboxes already imported. Disconnect InboxKit or Remove everything sit in the Danger zone at the bottom.Good to know
Do I need to sign into Google to import these mailboxes?
Do I need to sign into Google to import these mailboxes?
No. InboxKit mailboxes authorize themselves, so nobody sees a consent screen or types a password.
What happens if I disconnect InboxKit?
What happens if I disconnect InboxKit?
Nothing about your imported mailboxes changes. Oneprofile just stops checking InboxKit for new, removed or returning mailboxes.
What happens to a mailbox that leaves InboxKit?
What happens to a mailbox that leaves InboxKit?
With Disconnect removed mailboxes automatically on, Oneprofile disconnects it once InboxKit stops listing it. It comes back on its own once it is active in InboxKit again. Oneprofile notices at its next InboxKit check, then the hourly connection check reconnects it.
What does Remove everything do to my mailboxes?
What does Remove everything do to my mailboxes?
You choose: disconnect them and keep their history, or delete them along with it. The contacts they emailed wait for a disconnected mailbox but stop when it is deleted, because no other mailbox emails them. A disconnected one stays Disconnected until you connect InboxKit again and import it.
Next steps
Connect a mailbox
Connect a Google Workspace or Gmail mailbox instead.
Mailbox health and capacity
Check the new mailboxes once they arrive.