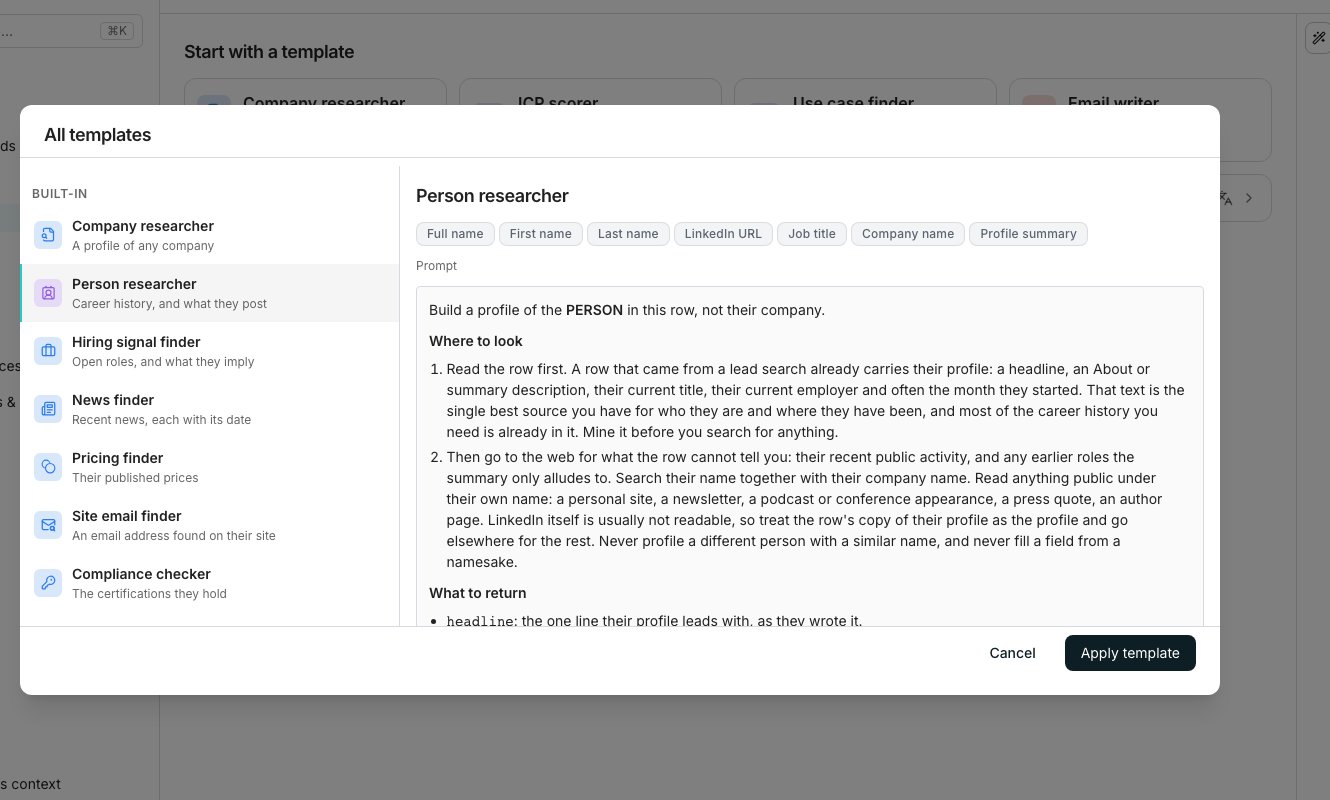
The template gallery, previewing a template's prompt before you apply it.
Start with these five
Four agents do the research, and one turns it into outreach. Each shows its price per row before it runs.- Company researcher reads their website and returns what they sell, who they sell to, and the signals that mark a good prospect for them.
- Person researcher reads a LinkedIn profile and recent activity, and returns career history, the topics they post about, and a hook written for that one person.
- Hiring signal finder counts their open roles and returns the departments they are growing into, and what that hiring says about their problems right now.
- Use case finder reads their business against what you sell, and returns the one workflow your product would change, in their own terms.
- Multi-channel writer writes one coordinated sequence: a subject, three emails and three LinkedIn messages that never repeat each other.
How the research feeds the message
Every agent writes its answers into columns, and the next agent reads those columns as its inputs. Run them in this order and the last one has everything it needs.- Company researcher fills What they do, which is the Company description input for both Use case finder and Multi-channel writer.
- Person researcher and Hiring signal finder each fill a Hook, the most specific true thing anyone found about them. The first touch opens on it.
- Use case finder fills Use case, the problem you solve stated the way that company would state it.
- Multi-channel writer takes Company description, Hook and Use case together, and ranks the hook and the use case above everything else in the row.
Find the built-in agents
From a table, click Tools, open the Agent tab, and scroll past Your agents to Built-in agents. From Agents, click See all templates for the full gallery, or pick a card under Start with a template.Run one as is
Deploying straight from Built-in agents adds a column whose prompt, effort and web research are set by Oneprofile. You choose only which columns feed its inputs, from the Inputs section of that column’s editor.Keep a copy to make it your own
Applying a template copies its whole setup, including the prompt, its inputs, effort, web research, business context and output fields.1
Open the gallery
Click See all templates.
2
Preview a template
Select one on the left to read its prompt on the right, with each input shown as a chip.
3
Apply and save
Click Apply template, then click Save. Your copy lands under Browse agents, yours to edit, and the original template is untouched.
Good to know
What does not come across when I apply a built-in template?
What does not come across when I apply a built-in template?
Its curated description, and an internal rulebook that only governs how a built-in run itself is priced and refunded. Oneprofile writes your copy a fresh description once you save it.
Can I edit a built-in agent's prompt straight on the table?
Can I edit a built-in agent's prompt straight on the table?
No. A column deployed straight from Built-in agents keeps its prompt, effort and research fixed. Only which columns feed its inputs is yours to change there.
Does the built-in icon come with the copy?
Does the built-in icon come with the copy?
No. A built-in’s icon is a token for the catalog and the picker. Your copy starts with the default agent icon until you set your own.
Do my team's own saved templates show up in the same gallery?
Do my team's own saved templates show up in the same gallery?
Yes, listed under Saved by your team, below the built-ins.
Next steps
Build an agent
Write a prompt from a blank page instead of a template.
Agent columns
See how a deployed agent column behaves on a table.