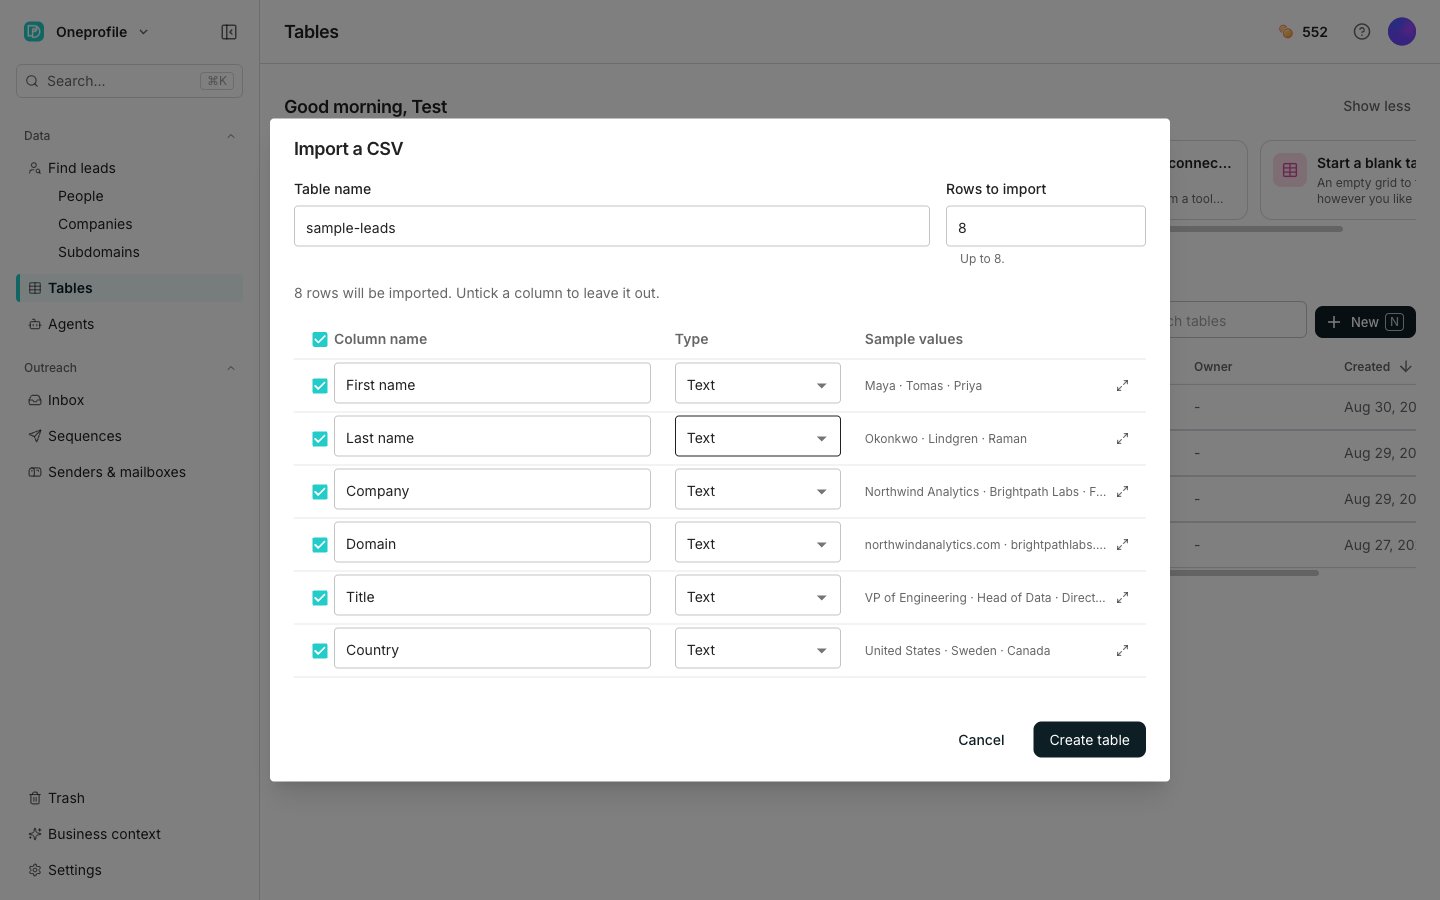
The Import a CSV dialog, on the column mapping step.
Import your file
1
Open the dialog
On Tables, choose the Import a CSV card. You can also click New and pick Import a CSV.
2
Add your file
Drag a CSV onto the dialog, or click to choose one. The first row is used as the column names, and files must be under 50MB.
3
Review the column mapping
Oneprofile lists every column under Column name, Type, and Sample values, with a type already guessed, such as Text, Number, Date, or Email. Edit a name in its box, change a wrong Type, or untick a column to leave it out.
4
Check the sample values
The mapping table shows only the start of a few values. Click the expand icon on a column to read all of them.
5
Name the table and set how many rows
Table name starts as the file’s name. Rows to import starts at as many of the file’s rows as your table can hold. Lower it to add fewer.
6
Create the table
Click Create table.
Good to know
The dialog is reading your file
The dialog is reading your file
While it reads, the drop area says Reading the file…. A large file takes a moment. That message means it is working rather than stuck.
Reading every value in a column
Reading every value in a column
The expand icon on a column is labelled See all sample values. It opens a dialog titled Sample values for ”…”, with the column’s name in place of the ellipsis.The dialog lists every sampled value with its row number, and names how many rows of the file it is showing. Click Close when you are done.
Your file has more rows than your plan holds
Your file has more rows than your plan holds
Oneprofile names the file’s size and how many rows your plan holds per table, then adds only the rows up to that limit.
An Upgrade chip sits next to the message and takes you to raise the limit.
Create table is greyed out
Create table is greyed out
It stays disabled until the mapping is valid, and the dialog names what is wrong. You will see “Include at least one column.” or “Every included column needs a name.” A column name used twice is called out by name.Table name cannot be blank either. Clearing it puts “The table needs a name.” under the field.
Next steps
Import from a tool
Add rows from a tool you already use.
Enrichment columns
Add columns that fill themselves in.